

Tiling is a job I’ve always really enjoyed. It’s satisfying seeing the wall gradually disappear beneath the flow of tiles. Once you get into a groove, this activity almost becomes therapeutic.
However, before you can get into the groove, you’ve got to make sure that your surface is prepped and ready. Otherwise, you might find your groove or your tiles falling a bit flat.
You can tile over existing tiles or paint, but this can lead to problems. It will put too much weight on your walls and create an uneven surface. How you prep your wall depends on what is already on it.
Here are some tips you can use:
Prep
First things first, cover everything nearby in dust sheets to protect them from bits of paint, globs of filler and splashes of paint remover. This includes your floor and pieces of furniture.
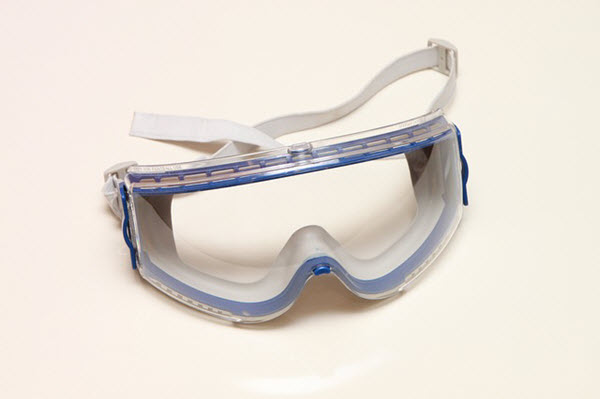
Make sure the area is well ventilated and wear eye goggles to protect your peepers from particles. It is also essential that if you are doing anything that involves tearing into your walls, you must turn off the mains electricity at your home.
See Also: Eye Safety In The Workplace: Effective Ways To Protect Your Vision
Wallpaper
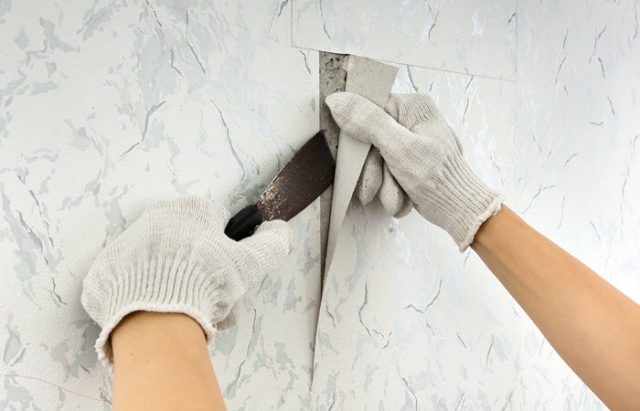
Remove the wallpaper by wetting it with a sponge first. Using a putty knife, start pushing at its edges. Once you're able to get a solid grip on one edge, start pulling it away with your hands. You can use the putty knife to loosen it when needed. You can also use the sponge to make it wetter if you need to.
It doesn’t matter if you’re less than gentle with it. Remember, you can easily repair any gouges and scrapes on the wall with filler.
The next thing to do is to sand the whole wall with medium-grade sandpaper to make it a rough surface. Tiling grout requires an uneven surface to grip better. If your walls have been painted before being wallpapered, then look at the next step.
Paint
If this paint layer is quite old or you have reasons to believe that it might be lead paint, then get a professional in to deal with it. I cannot stress that enough. Anyway, if it’s a nice non-lead based paint, then go ahead and remove it. There are a couple of ways you can go about vanquishing paint from your walls.
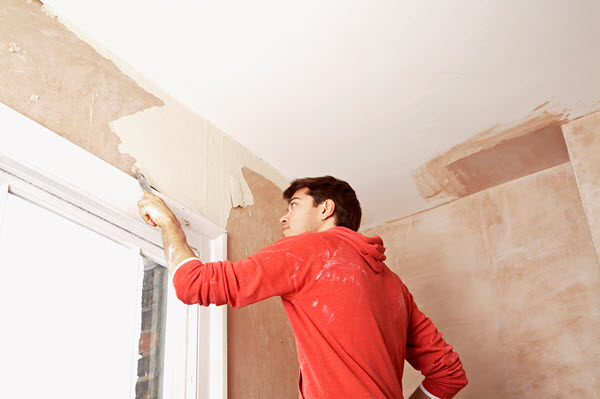
Start with a scraper. Use the edge of the scraper to score diagonal lines in the paint. This will expose edges in the paint shell to make scraping off easier. Drag the wide area of the scraper across the paint in all directions to remove as much paint as you possibly can.
Get rid of any other paint with paint remover. Wait for it to dry, then use a filler to make it an even surface. Sand the wall with a medium-grade sandpaper to create that rough surface for the grout.
Plaster
If there is only plaster on the wall, then the prepping job becomes much easier for you. Simply skip straight to the filler stage, making sure you create an even surface. Then, sand it with a medium-grade sandpaper to make it rough for the tile grout to latch onto.
Existing tiles
It might be surprising for you to learn that you don’t actually have to remove existing tiles from your wall if you’re going to be adding new tiles. Just make sure that all of your tiles are in good condition. If not, then replace any cracked tiles with other tiles or wallboard. Wash the tiled wall with TSP to ensure a clean and non-greasy surface.
If you don’t have enough replacement tiles or if the tiling is too damaged, then you will have to remove the tiles before you put on the new ones. This is when you start the demolition. Again, make sure that mains electricity is off.
Cut into the grout between the tiles with a sharp utility knife and then get to work with a hammer and chisel. Get the chisel into one of the tile's edges and hammer the end to force it under and the tile away from the wall.
If you want to keep the old tiles, then make sure you’re careful and make the floor padded for when they fall off. If you aren’t going to use them again, then just go ahead and hammer away to your heart’s content.
That is how to prepare a wall for tiling. Your wall is now prepped and ready for your new tiles. You have a level surface with just the right amount of roughness, perfect for tile grout to stick onto. So, that’s half the job done. Make yourself a cup of tea and have a sit-down. You’ve earned it.


Comments